Using AI Vercel SDK (AI SDK Core) with Next.js and App Router
@shaaddevIn this article, we will be going through how to setup the AI Vercel SDK with App Router and the Stream Chat Completion Function. With this, there will be no in depth explanation and only a step by step guide
Setting Up the Development Environment
If you already know how to this part then you can skip to the integration of the AI SDK. Also, make sure to have Node Package Manager installed on your device if you haven't already.
- Create Next.js Project
bun create next-app
- What is your project named? <insert_folder_name_here>
- Would you like to use TypeScript? Yes
- Would you like to use ESLint? Yes
- Would you like to use Tailwind CSS? Yes
- Would you like to use `src/` directory? No
- Would you like to use App Router? (recommended) Yes
- Would you like to customize the default import alias (@/*)? No
Don't worry to much about bun, you can use npm, yarn, or pnpm.
npx create-next-app@latest
or
yarn create-next-app-ts
or
pnpm create next-app
- Install additional dependencies
bun add ai @ai-sdk/openai react-markdown
You can use any provider here such as Google or AWS Bedrock like so
bun add @ai-sdk/google or @ai-sdk/amazon-bedrock
To see more available providers click on the link below:
(Optional) The styling being used here will be Shadcn, you don't necessarily need to use this but it'll be faster to speed up the process.
bunx shadcn@latest init
- Which style would you like to use? Default
- WHich color would you like to use as the base color? Neutral
- Would you like to use CSS Variables for theming? yes
bunx shadcn@latest add button input
- Create an environment variable file
Create a new file called .env.local
in the root directory and this is where you'll store various API Keys. As said before, you can use any provider but for this project, we will be using Google as this is the free option.
GOOGLE_GENERATIVE_AI_API_KEY=your_google_api_key
- Creating Server Action
We will be implementing a continueConversation
function that will insert the user's message into the conversation and stream back the new message.
Create a new file app/actions.tsx
and add the following:
'use server'
import { createStreamableValue} from "ai/rsc"
import { CoreMessage, streamText } from "ai"
import { google } from "@ai-sdk/google"
const systemPrompt = '' // you can add your prompt here for a better responsive AI
export async function continueConversation() {
model: google('gemini-1.5-pro-latest'),
system: systemPrompt,
messages,
const stream = createStreamableValue(result.textStream)
return stream.value;
}
Yep, it's that simple!
- Creating the Chatbot Component
Create a new Folder called components
if you don't have one already and create a new file called components/chatbot.tsx
and add the following. Don't worry, we'll be calling this component in app/page.tsx
later on.
"use client";
import { useState, useEffect, useRef } from "react";
import { CoreMessage } from "ai";
import { continueConversation } from "@/app/actions";
import { readStreamableValue } from "ai/rsc";
import { Button } from "@/components/ui/button";
import ReactMarkdown from "react-markdown";
import { Send } from "lucide-react";
interface ChatbotProps {
e: React.FormEvent;
messages: CoreMessage[];
setMessages: React.Dispatch<React.SetStateAction<CoreMessage[]>>;
input: string;
setInput: React.Dispatch<React.SetStateAction<string>>;
}
async function handleSendMessage({
e,
messages,
setMessages,
input,
setInput,
}: ChatbotProps) {
e.preventDefault();
const newMessages: CoreMessage[] = [
...messages,
{
role: "user",
content: input,
},
];
setMessages(newMessages);
setInput("");
const result = await continueConversation(newMessages);
for await (const content of readStreamableValue(result)) {
setMessages([
...newMessages,
{
role: "assistant",
content: content as string,
},
]);
}
}
export function ChatbotUI() {
const [messages, setMessages] = useState<CoreMessage[]>([]);
const [input, setInput] = useState<string>("");
const messagesEndRef = useRef<HTMLDivElement | null>(null);
const scrollToBottom = () => {
messagesEndRef.current?.scrollIntoView({ behavior: "smooth" });
};
useEffect(() => {
scrollToBottom();
}, [messages]);
return (
<div className="mt-10">
<div className="flex-1 overflow-y-auto p-4 space-y-4">
{messages.map((message, index) => (
<div key={index}>
<div className="">
{message.role}:{" "}
<ReactMarkdown>{`${String(message.content)}`}</ReactMarkdown>
</div>
</div>
))}
<div ref={messagesEndRef} />
</div>
<div className="">
<form
onSubmit={(e) =>
handleSendMessage({ e, messages, setMessages, input, setInput })
}
className="flex items-center gap-2"
>
<div className="relative max-h-60 flex flex-row w-full grow justify-between overflow-hidden bg-zinc-100 dark:bg-slate-800 px-6 rounded-full border focus:outline-1">
<input
id="message"
placeholder="Type your message here..."
className="max-h-[60px] flex-1 border-none focus-within:outline-none bg-transparent"
autoComplete="off"
value={input}
onChange={(e) => setInput(e.target.value)}
/>
<Button
type="submit"
variant="ghost"
size="icon"
className="rounded-full hover:bg-muted"
>
<Send className="w-4 h-4" />
</Button>
</div>
</form>
</div>
</div>
);
}
Now let's navigate to app/page.tsx
import { ChatbotUI } from "@/components/chatbot";
export default function Home() {
return (
<div className="">
<ChatbotUI />
</div>
);
}
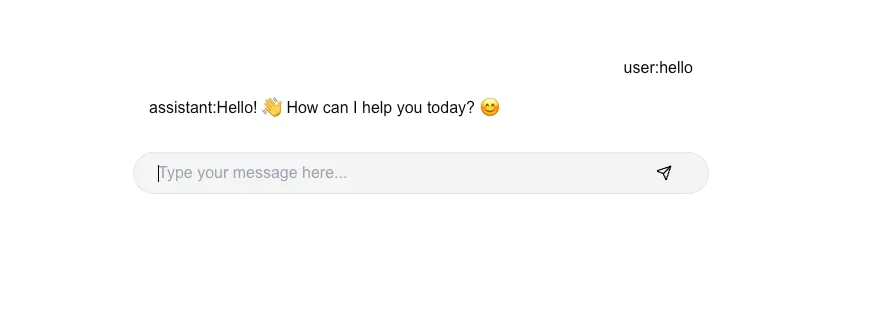
- Test the Application
Once you added your own styling and everything is setup properly, let's start up the development server.
bun run dev
and navigate to http://localhost:3000
Conclusion
And yeahhhh, if everything goes well then you are now able to create or integrate AI into your web applications. Feel free to hit me up if anything goes wrong and I will try my best to either help you out or edit this blog for any updates made by the developers at Vercel.